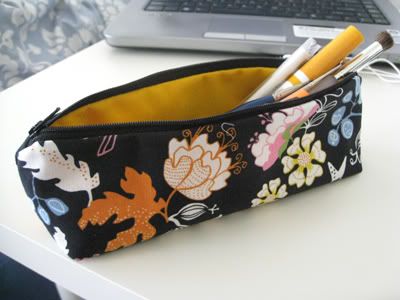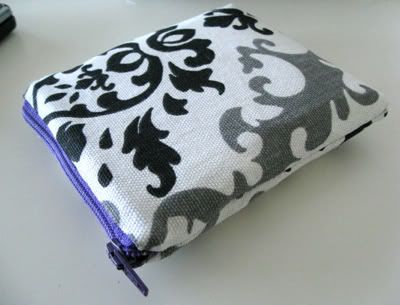
All the steps taken to make a camera case are exactly the same on how to make a pencil pouch! Instead of small dimensions and thick interfacing, you can just use your fabric and zipper.
Before I start, I just want to say that Jo-Ann Fabric and Crafts have coupons for 20% off your entire purchase (including sale items) from November 6-8! I usually stock up on the 40% or 50% off one regular priced item coupons, but for those who are already looking to decorate for xmas, this coupon will come in handy!

Now, here are the materials I've used to make the pouch: An exterior fabric, interior fabric, zipper, and interfacing (a thick material that gives your project durability)
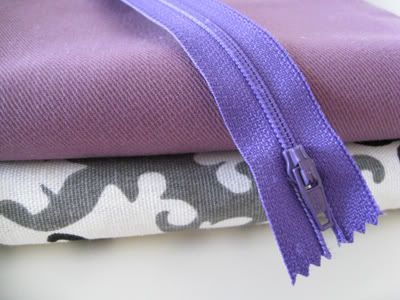
Interfacing: (You can get interfacing at any Joann's or fabric section at Walmart). The thick ones could cost up to $4/yard, so I recommend signing up for Joann's mailing list to receive 40% or 50% off coupons!

So the first thing you want to do is measure your camera. In this case, I used a deck of cards since my camera was in use. Dont forget to measure the width of your camera as well!
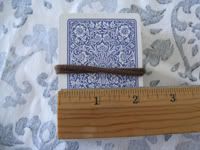

After you've measured you camera, you want to add 2.25 inches to the fabric width and 2.5 inches to your fabric's length. For example, if your camera is 2 inches wide, your fabric width should be 4.25 inches. If your camera is 3 inches long, your length should be 5.5 inches. You would then be cutting fabric squares of 4.25x5.5 inches. Do this for your interior lining as well (the fabric that will go inside) and your interfacing.
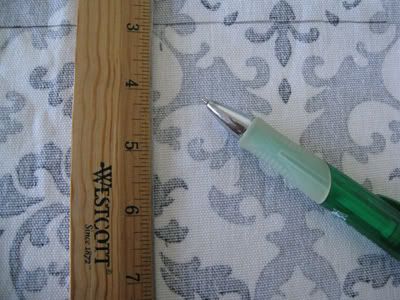

If your zipper is too long -
What you want to do next is make two markings - Start with your ruler on the metal claspings and mark the zipper 5.25 inches and 4.75 inches away from it. (or one marking .5 inches less than the width of your fabric piece).
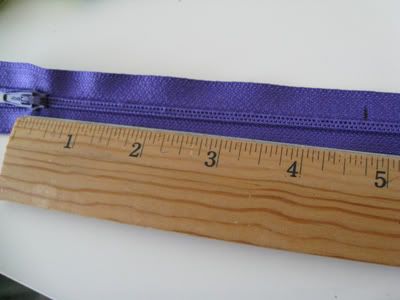
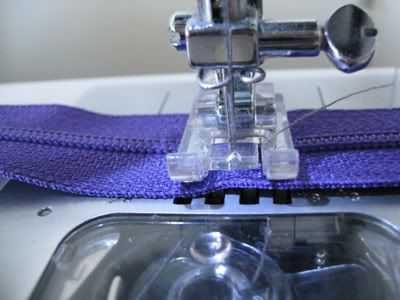
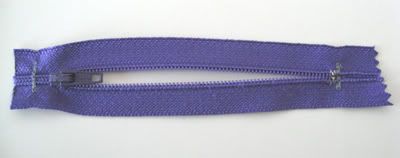
At the 4.75 inch mark, sew along the teeth, back and forth until it looks like this:
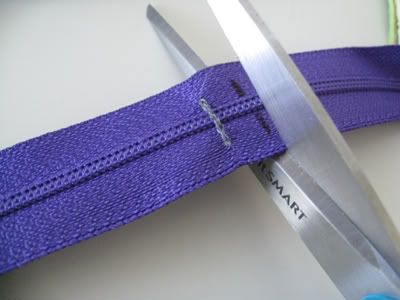
Then cut along your second outer marking
Next, you want to "close" the other end by doing the same method as above. Here, I used tape to keep the zipper together after I unzipped the zipper. You could also use a pin. Hehe I sew and I don't have any!
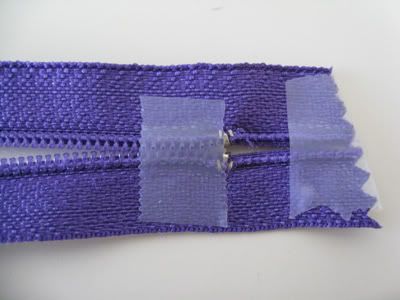
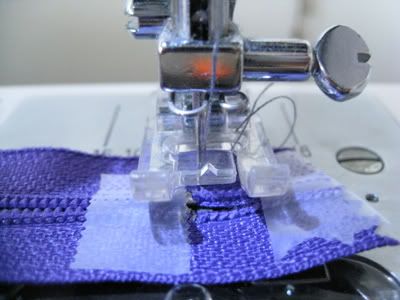
The finished zipper should give you a better idea:
Next, take your exterior fabric and place the zipper face down on it. Making sure you're using a zipper foot, sew a straight line to the end of the fabric
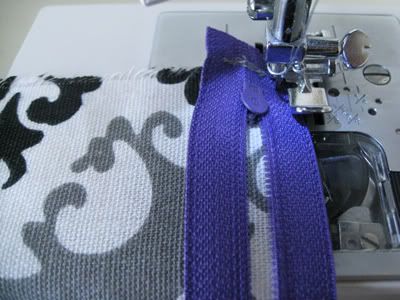
Now, place the interior fabric on the other side and sew straight down as well. Do the same for both sides.
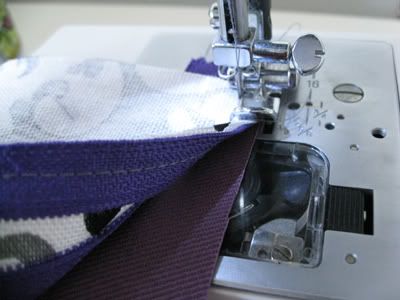
You want to do the same with the interfacing - placing it on top of the backside of the exterior fabric and sewing along as usual. (I forgot to take a picture for this step!)
And now the finished product, all butterflied out -
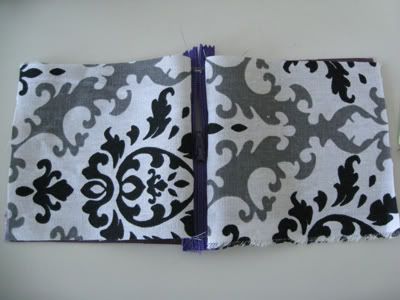
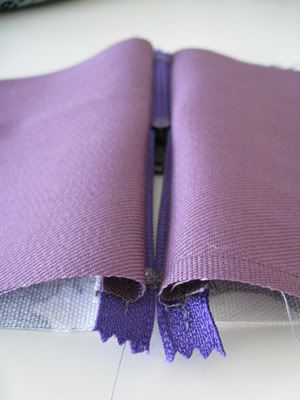
I then ironed out the edges..
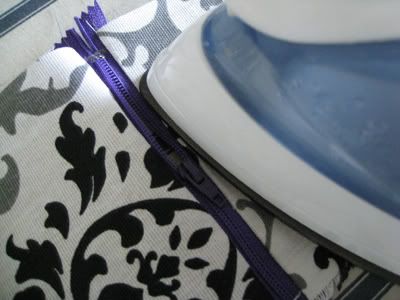
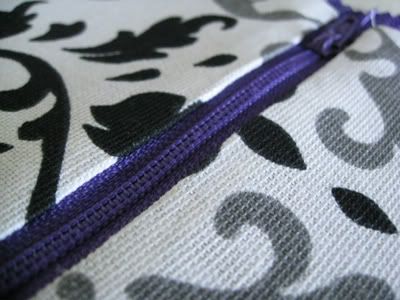
For a nice clean look
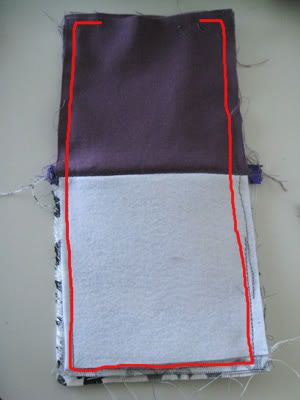
Now, you want to fold the exterior flaps + the interfacing flaps together. Seperately, you want to fold the interior flaps together as well. Starting with the interior fabric (purple here) sew along the red photoshopped line: (Don't make the mistake of sewing it all the way! There is a hole for a reason :))
Most importantly, make sure your zipper is unzipped!! If you don't do this step, then you won't be able to do the next step!
Now for the hard but gratifying part - you want to turn the bag inside out just like a sock! It'll be tough though, especially since the interfacing is so thick here, but it can be done! (If this is your first time, I suggest doing a tester first without interfacing so you know how the inside-out method works without struggle)
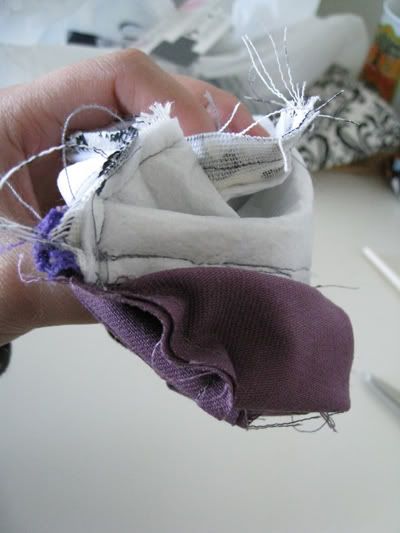
Halfway there! (I use a chopstick to aid the process - it helps with the corners and such)
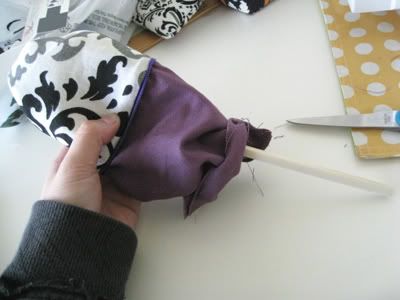
Once you've turned it inside out, close the opening by folding the ends of the fabric inwards and sewing along the end:
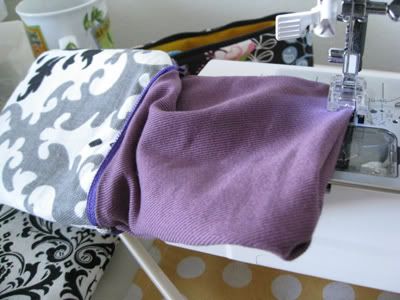
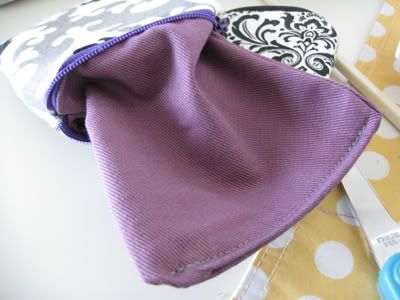
Now stuff the interior fabric back in place -
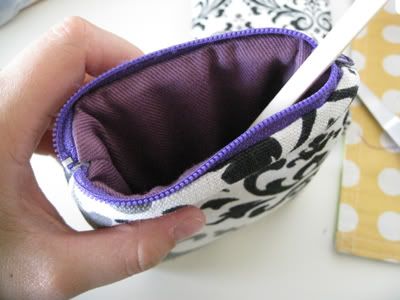
Done!

